My fire starter post got me to thinking about portable ultralight stoves.
After some searching and my preference for minimalism and KISS methodology I set out to build a rocket stove. I decided to go with a basic rocket stove design using a stainless steel water bottle I got from a thrift store for $2.
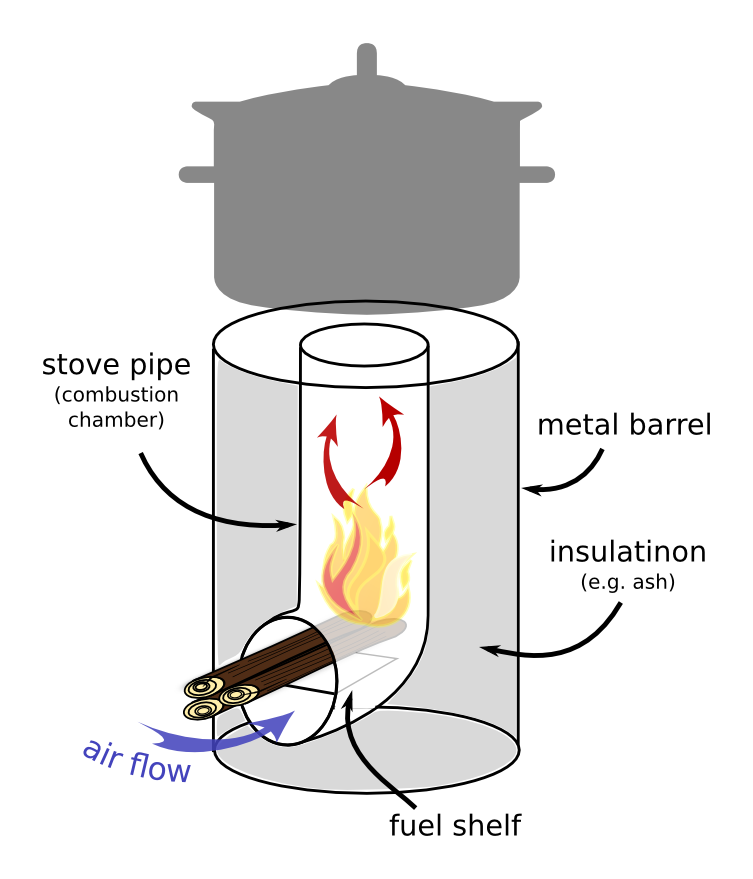
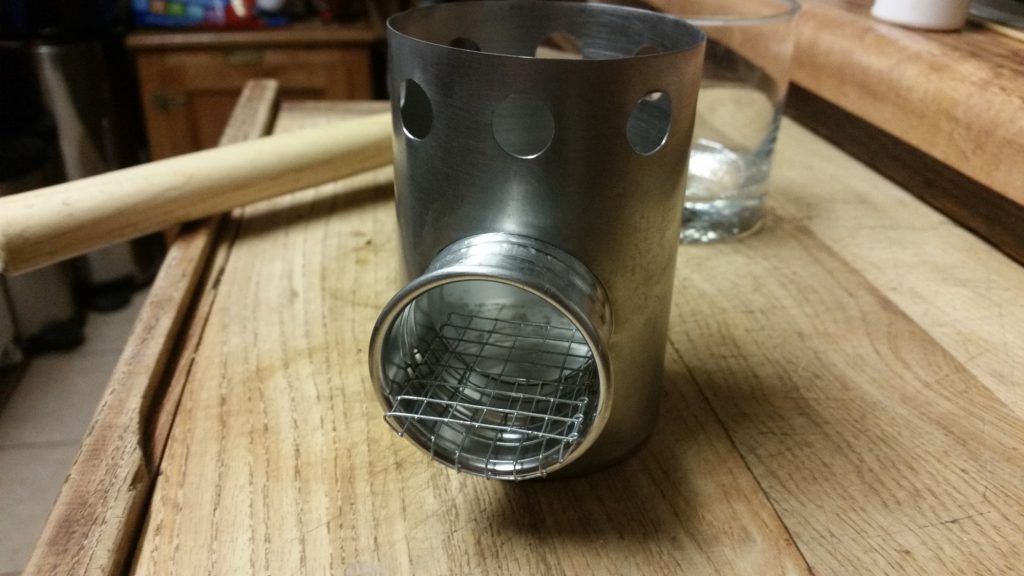
First I sanded the enamel off of the bottle and cut the neck off. I then measured 3/4″ up from the bottom to mark the bottom edge of the inlet hole and proceed to cut the hole. Next I measured 1 1/2″ from the top of the inlet hole and cut the rest above that off. I used a dremel cutoff wheel to do the straight cuts and a 3/4″ hole saw with a pilot bit for the inlet hole. If you make the inlet hole properly the intake pipe (water bottle neck) should snugly press fit into the hole. I then measured and evenly spaced out 8 – 5/8″ holes 1/4″ from the top of the stove and made them using a step bit.
Specs:
- H – 4 1/8″
- W – 2 3/4″ (collapsed)
- Weight – 3 oz
- Boil 16 oz of water in 12 min. (1 qt sauce pan)
Tools I used:
- Dremel w/ Cut-off Wheel
- Cordless Drill
- Step Bit
- Hole Saw
- Small Half Round File
- Sand Paper
- Tin Snips
- Needle Nose pliers
- Bench Vice
The fuel shelf is made from 1/4″ hardware cloth folded into a half cylinder shape. Once I’m happy with a design I’ll add a drawing of the piece cut flat on graph paper. They are a little time consuming and fiddly to make from hardware cloth but it works well. There’s a bit of a technique I’ve worked out after having made a few in the process of revising the design. I’ll post a howto video if there is interest.
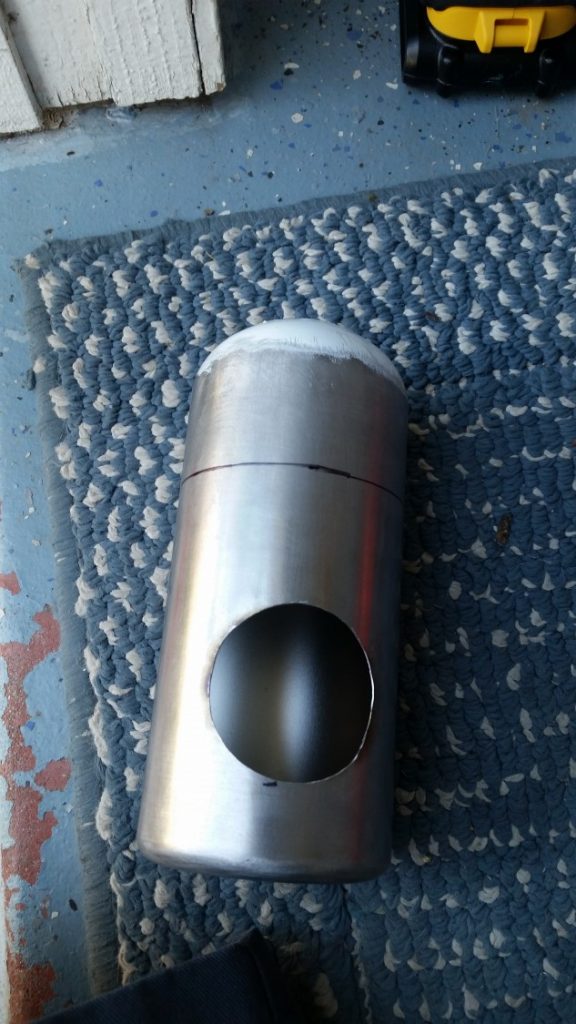
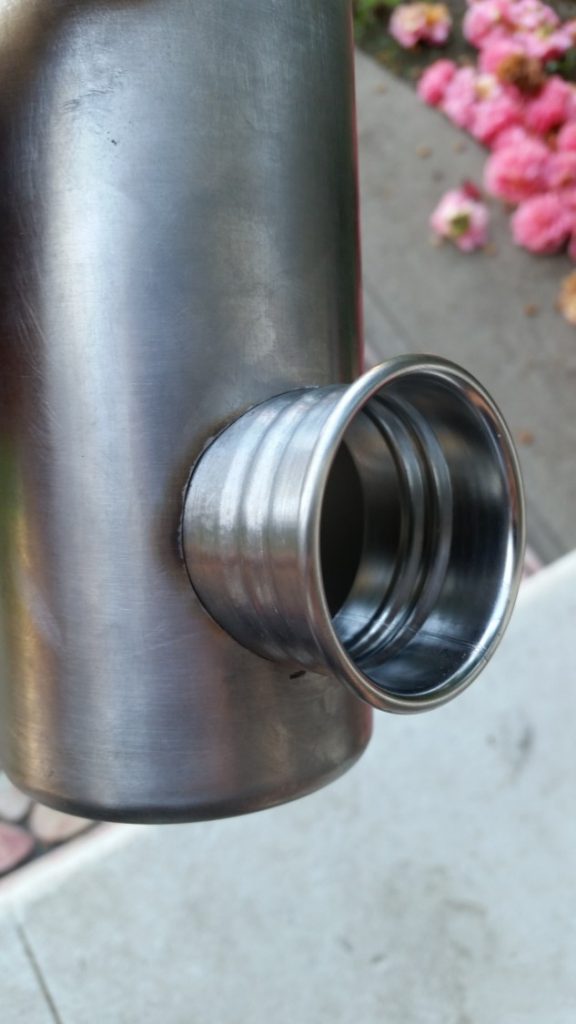
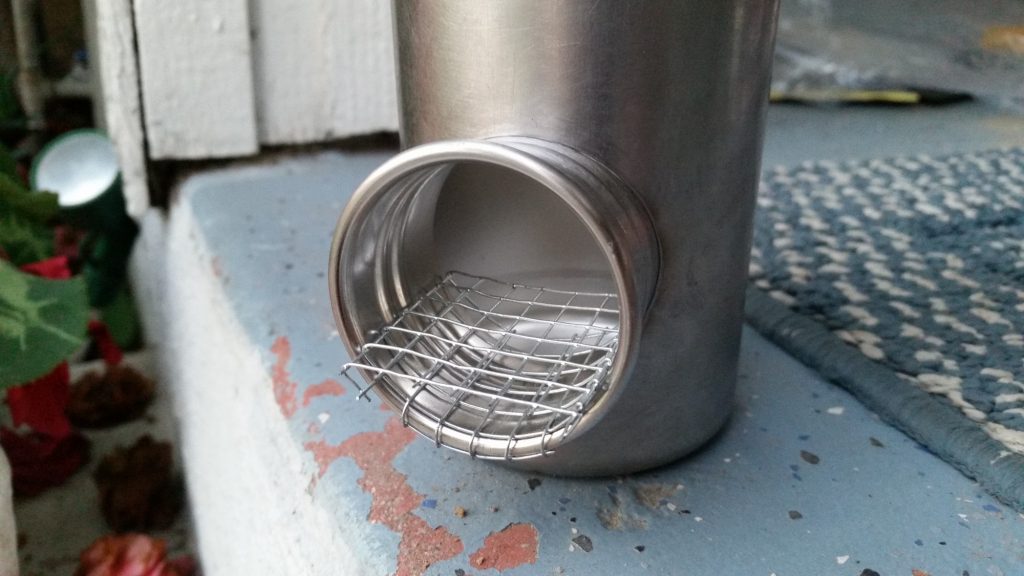
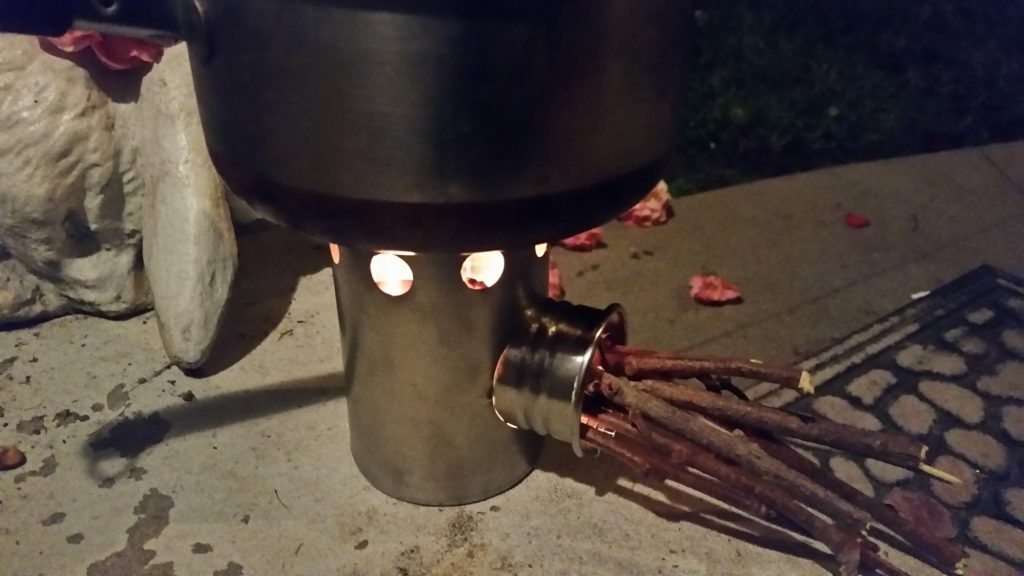
My initial test did not go all that well since all I had around was a few green branches I broke from a tree in my backyard. I did manage to get them going using my fire starter but they didn’t stay lit long enough to get the 2 cups of water I had in the pot to boil. It was pretty close to a boil though at around the 6 minute mark. The stove self-extinguished in a way that makes me think the fire may have just gotten too big for the inlet size under the fuel shelf and starved itself of oxygen. I plan to make a revised shelf that raises the fuel higher and test the stove again with proper dry wood from a chopped up pallet or whatever else I can get my hands on. Right now the fuel shelf is 2/3 of the inlet and I suspect it needs to be 1/2 at a maximum to function properly when full. If that doesn’t work I might have to make a few small intake holes below the inlet to supplement the intake below the fuel shelf.
The next thing I plan to do is make a cozy for the stove using carbon felt and kevlar thread. It will function to both insulate the chimney and allow the user to handle the stove while hot.
Update: Friday, May 1, 2015 11:46AM PDT
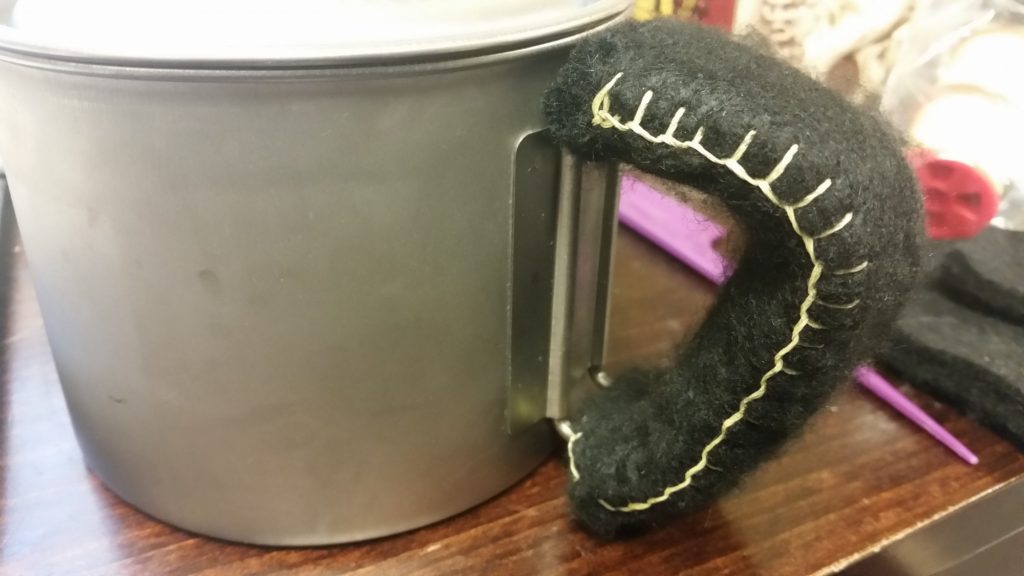
Here’s what I ended up doing instead with the carbon felt and kevlar thread. It works well with the wood stove but the carbon felt and kevlar will not last long using a cat food can alcohol stove. It’s just too much heat.
Update: WEDNESDAY, SEPTEMBER 27, 2014 10:32AM PDT
I remade the fuel shelf to allow for 50% of the inlet to be intake and it worked really well. I got 16oz of water in a standard kitchen 1 qt sauce pan to boil in 12 minutes. I bet it would boil significantly faster in a smaller titanium backpacking pot. Here’s a demo video of the stove that I shot with my buddy Logan.
After shooting the video I widened the exhaust holes from 1/2″ to 5/8″ and the stove is now much more efficient. The stove burns with very little smoke now which is an indicator that the widening of the exhaust holes allows for more complete combustion. I got the water to boil in the same amount of time with only half as much wood and I didn’t fan it at all. I’ve updated the instructions to reflect this design change.